Whether you’re creating your first blog or your 20th, remembering everything you need to do before launching your blog is NOT a given. You’re bound to forget something because let’s face it, we’re human. That’s where a blogging checklist comes in helpful. This is the checklist I use for all my websites before launching.
As you go through check everything off that you have completed to ensure that your site is prepared for launch, so that you don’t forget any important parts of site setup.
If you haven’t already started a blog, go through this easy step by step guide: How to Start a Blog and Make Money
Let’s get started with the 27-point website launch checklist for new blogs:
Blogging Checklist
1. Pre-Set up (Blogging Checklist):
#1 Select a Domain Name
Make sure you have a domain name you’re happy with. You’ll most likely be stuck with it, and it can be complicated to change. Here are some tips and tricks for deciding on a domain name:
Related: How to Choose a Url for your Blog or Website: 15+ Must-Know Tips & Tricks
Related: Starting a Blog When You Lack Skills + Niches to Avoid
#2 Choose WordPress Hosting
Choosing a good WordPress hosting provider is a decision that is important for a successful website launch. It guarantees that your site operates smoothly, remains secure and is managed by experts.
I personally use Hostinger for my blog and am very happy (not an ad- they don’t even know who I am).
Reasons you Should Use Hostinger:
Hostinger has very cheap prices and a reactive and reliable customer service, which makes it the best affordable hosting when you’re just starting a blog. They also have awesome features that are included for FREE in their plan (and not paid add-ons).
Get Hosting from Hostinger for as low as $2.99 (That’s like a Starbuck coffee- even less)
#3 Install WordPress
To monetize your blog make sure you get WordPress dot org NOT WordPress dot com. When you purchase hosting with Hostinger they include an easy set up for WordPress dot org.
#4 Add a Time zone
Make sure to set up your WordPress site’s time zone correctly.
If you want to keep things simple, just set your time zone to where you are. This will make it easier for you to manage your site and schedule posts.
But if your visitors are in a different time zone, you might want to set your time zone to match theirs. That way, they’ll see comment timestamps and publish dates that make sense for their location.
To change your time zone in WordPress, just head to Settings → General and look for the Time zone drop-down. Easy peasy!
#5 Verify your admin Email
Make sure your admin email is correct and that you have access to that email.
Go to Settings → Verify the General page is correct with your emails
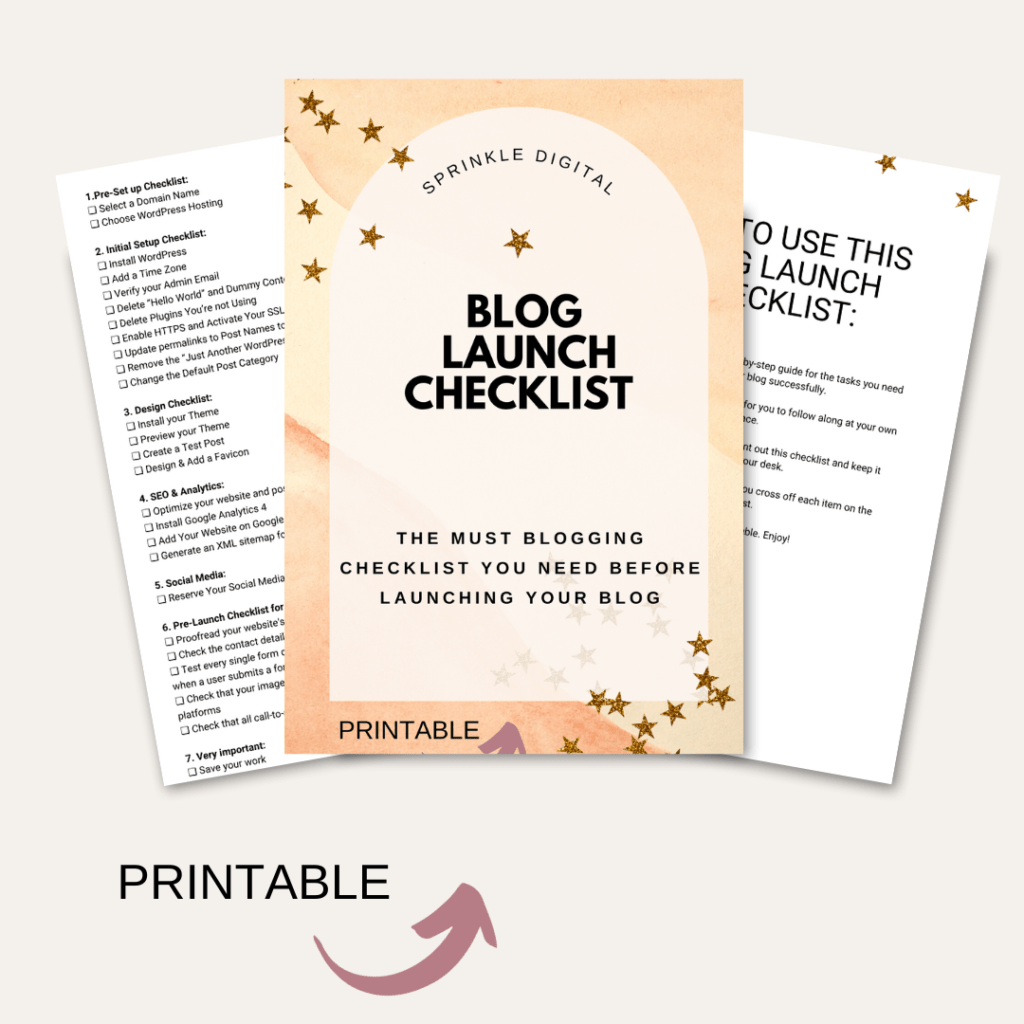
Grab Your Free Blog Launch Checklist
Includes Printable!
#6 Delete “Hello World” and Dummy Content
When you first install WordPress, it comes with a bunch of “dummy content” that’s not really necessary, like that annoying “Hello World!” post and “Sample Page”. Some hosting providers even add more dummy content.
The thing is, you don’t really need any of that content on your site, so it’s best to get rid of it before you launch. It can also harm SEO and Google Search Rank if you keep it.
To remove just go through your Posts, Pages, and Comments sections and delete anything that you don’t want to keep.
#7 Delete Plugins You’re not Using
Having too many plugins on your site can really slow down your website and even create security issues. So it’s a good idea to get rid of any plugins that you’re not actually using.
When you create a website through a host, most of the time it will automatically add plugins for you.
To remove the ones you don’t like before your site goes live:
Just head over to the Plugins section in your WordPress dashboard and deactivate any plugins that you don’t need. If you’re not sure, just try deactivating it and see if anything on your site breaks. If everything looks good, you can go ahead and delete it.
Once you’ve deactivated all the plugins you’re not using and double-checked that your site still works, it’s safe to delete them for good.
#8 Enable HTTPS and Activate Your SSL Certificate
An SSL certificate is crucial for your website’s security and user trust is. It’s a must-have for any website.
Installing an SSL certificate is usually easy and most web hosts offer a free SSL certificate that you can install with just a few clicks in your hosting dashboard. If you have any trouble, just reach out to your host for assistance.
Once you’ve installed your SSL certificate, it’s important to make sure you enable HTTPS for your website. You can do this by going to Settings → General in your WordPress dashboard and updating your WordPress Address and Site Address to use “https://” instead of “http://”.
#9 Update permalinks to Post Names to become SEO Friendly
Permalinks in WordPress are important for your site’s URLs. You want to make your links SEO Friendly. Basically, you get to choose how your blog post links will look like, whether it’s yoursite.com/2023/post-title or just yoursite.com/post-title.
It’s really important to choose the right permalink structure before you launch your site because changing them later on means all your URLs will change too (which is a bit annoying).
To set up your permalinks, just go to Settings → Permalinks in your WordPress dashboard. Most people go for the Post name structure, but there are other options too if you need something specific. Personally, I use the category name in my URLs, which you can do by choosing the Custom Structure option and entering this:
/%category%/%postname%/
It’s totally up to you though! Just make sure you pick a permalink structure that works for your site and stick with it.
Warning: if you’ve been running your website for 6+ months, it’s best not to change your permalink structure. Changing it can result in losing your social media share count and even your existing SEO ranking. If you really must get it done by a professional.
#10 Remove the “Just Another WordPress Site”
When you create a new site, WordPress adds a default tagline that some themes still show where it says “Just Another WordPress Site.” Not very original, right?
Change it and instead personalize the tagline for your blog. It’s easy to do.
Just head to your WordPress dashboard, click on Settings, and then choose General. Look for the Tagline box and either delete the default tagline or replace it with something that makes sense for your site.
Trust me, taking a few minutes to customize your tagline can really make a big difference in how your site comes across to visitors. So don’t be just another WordPress site -make your site unique and memorable!
#11 Change the Default Post Category
Make sure the default post category is not set to Uncategorized. Do this in the beginning so you don’t end up having to do redirects (see below).
By default, WordPress uses the default category name, “Uncategorized” for your posts. This can make your WordPress site look unprofessional and lower the quality of your content. It also makes it harder to navigate for your audience when they want to find a specific topic.
If this is the case, make sure to rename the uncategorized category in WordPress or set a new default category.
Note: if you changed the name of the “uncategorized” category or got rid of it altogether when your website was live then, users and search engines who visit the old URL will end up on a 404 error page. This will show that the page they’re looking for doesn’t exist anymore. You can still fix it but you need to set up redirects to the old uncategorized URLs.
Design (Blogging Checklist):
#12 Install your Theme
If you know you’re going to commit to blogging and want more control over your page layout, then get a paid theme. If not there are many free themes you can start off with.
#13 Preview your Theme
Once you’ve added your theme, preview it on major browsers, tablets and mobile. Make sure it looks good and there are no functionality issues.
#14 Create a Test Post
To make sure your WordPress site is functioning properly, make sure to create a test post.
This will help you check the formatting and styles of your site, such as images, lists, links, and blockquotes. You can also use this to preview how your content will look before publishing it.
#15 Design & Add a Favicon
Hey, so you know that little icon that appears next to your website’s title in browser tabs or bookmarks? It’s called a favicon or site icon. It’s also the icon that shows up when someone saves your website as an app on their phone or tablet.
Setting it up is easy. Just head over to the WordPress Customizer and go to Appearance → Customize. From there, look for the Site Identity section and upload the image you want to use as your favicon.
If you’re stumped or it’s too early for you to come up with a finalized design for a favicon, just create something with the first letter of your blog name your favicon.
It should be a square, preferably 512×512 px.
I use Canva for all my design graphics. You don’t need to be a graphics designer and the interface is very easy and straightforward.
SEO & Analytics
#16 Optimize your website and posts for SEO.
I use All in one SEO (AIOSEO) plugin for optimizing posts in WordPress.
I like it over other SEO tools because it gives you a score of how well your article is optimized for SEO (based on a percentage system).
#17 Install Google Analytics 4
If you want your website to be successful, it’s important to understand how your audience interacts with it.
Google analytics is free. You can see how many people are visiting your site, what kind of content they’re interested in, where they’re coming from, and a whole lot more. That’s why it’s a good idea to have web analytics installed from the very beginning, so you can start understanding your visitors right away.
#18 Add Your Website on Google Search Console
Google Search Console is free and helps you keep track of how your site is showing up in Google search results.
Not only does it let you see your search rankings, but it can also alert you to any errors, security issues, or indexing problems that could be affecting how your site performs in search results.
If you’re serious about optimizing your website for search engines, it’s definitely worth adding Google Search Console to your webmaster tools right from the start. That way, you can stay on top of any issues and make sure your site is performing as well as possible in search results.
Make sure to submit your Sitemap to Google Search console. See below.
#19 Generate an XML sitemap for Search Engines
An XML sitemap that can help improve your website’s search engine optimization. It’s basically a list of all the content on your website, presented in a format that search engines like Google can easily read and understand.
Having an XML sitemap can make it easier for search engines to discover all of your website’s content and include it in their search results.
When I first started, after completing a blog post and publishing Google didn’t crawl my website immediately and make it appear in google search results. In the beginning you need to tell it crawl your post, which is why you need Google Search Console. Even later on, when a page is not working it will notify you for you to fix.
Social Media
#20 Reserve Your Social Media Handles
Grab and reserve your social media handles. Do this for all social media platforms even if it’s not something you want today, you may change your mind in the future.
For Pinterest make sure it’s a business account. To create a business account in Pinterest you need to claim your website. I claimed my website and set up my Pinterest Business account easily very fast with All-in-One Seo (AIOSEO) in WordPress.
Pre-Launch (Blogging Checklist) for Functionality:
#21 Proofread Content
Proofread your blog’s entire content for mistakes and typos
#22 Check the contact details
Make sure the contact details on your website are correct
#23 Test Forms on Your Blog
Test every single form on your website including contact forms. Check that when a user submits a form you receive their message.
#24 Check image display
Make sure your images are displaying properly across all browsers and mobile platforms
#25 Verify call-to-action buttons are working
Check that all call-to-action buttons work and are linked correctly
#26 Save your Work!
Last but not least, make sure you have a system set up, so you continuously save your work. There’s nothing more painful than losing your hours, sweat, and tears of work.
Use Google Drive to save and sync your work on your computer. It’s free.
Select Google drive (stream files).
Go to Settings → preferences→ folders from drive.
That’s it.
Grab Your Free Blog Launch Checklist
Includes Printable!
Found this Free Blogging Checklist helpful? Pin it now and read it again later
Save and share!